With these easy-to-follow steps, learn how to create a stunning DIY photobooth for your outdoor wedding. Watch your guests enjoy memorable moments.
As an outdoor wedding enthusiast, I know that capturing the perfect moments on your special day is crucial. One of the most fun ways to do this is by setting up a photobooth! Not only does it provide endless entertainment for your guests, but it also creates lasting memories for you and your partner.
However, renting a professional photobooth can be expensive and may not fit within everyone’s budget. That’s why I’m here to share with you my tips on how to create a DIY photobooth for your outdoor wedding that will have everyone smiling and striking their best poses! So grab some props and let’s get started!
DIY Photobooth Materials
The first step in creating a DIY photobooth for your outdoor wedding is to gather the necessary materials. Luckily, most of these items can be found at your local craft store or online.
Here’s what you’ll need:
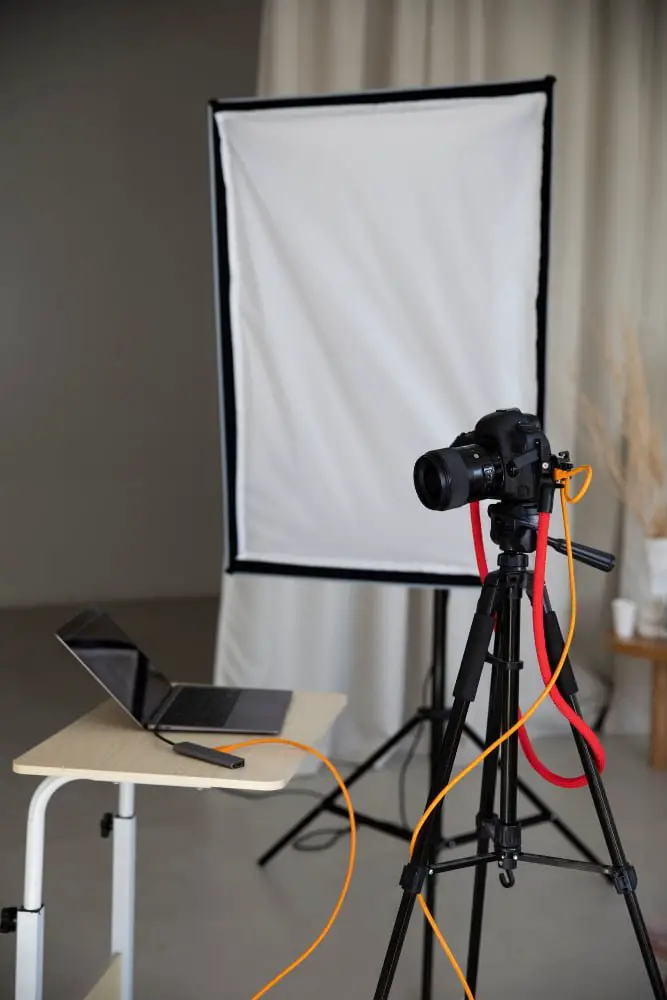
- A camera (DSLR or point-and-shoot)
- Tripod
- Remote shutter release
- Backdrop stand (or PVC pipes and connectors)
- Fabric for the backdrop
- Lighting equipment (optional but recommended)
- Softbox lights
- Umbrella lights
Choosing the Location
First and foremost, you want to make sure that the area is easily accessible for your guests. You don’t want them wandering around trying to find it! Secondly, think about lighting – natural light is always best but if you’re setting up in an area with limited sunlight or at night-time then consider adding some additional lighting.
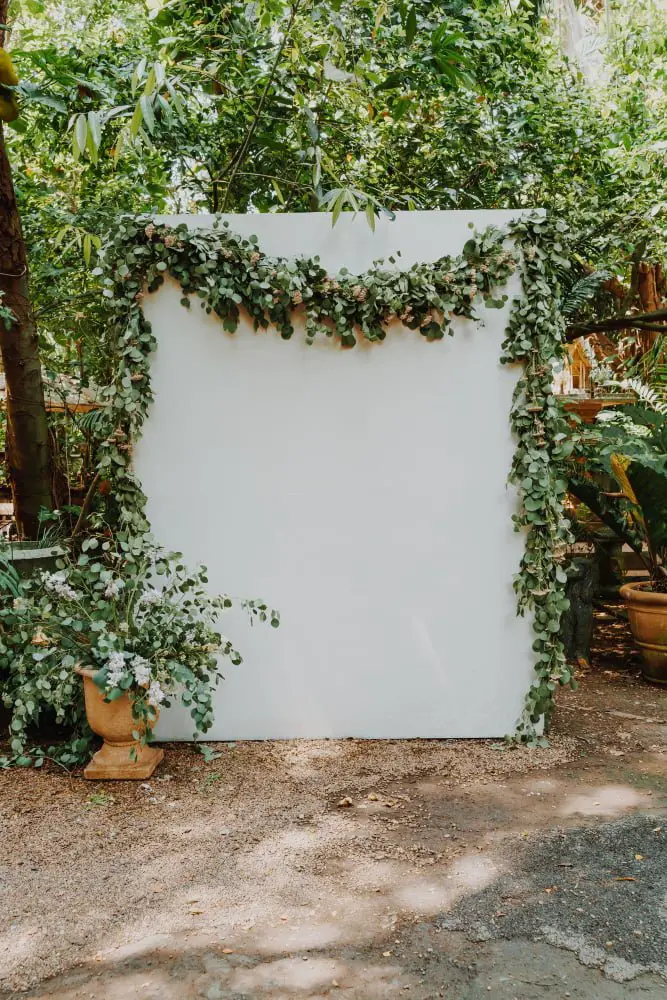
Another important factor when choosing a location is ensuring that there’s enough space for both the backdrop and camera setup as well as any props or accessories you plan on using. A great spot could be against a wall or under an archway decorated with flowers.
Lastly, keep in mind how close this will be located near other activities such as dancing so that people can easily move from one activity to another without feeling like they have missed out on anything!
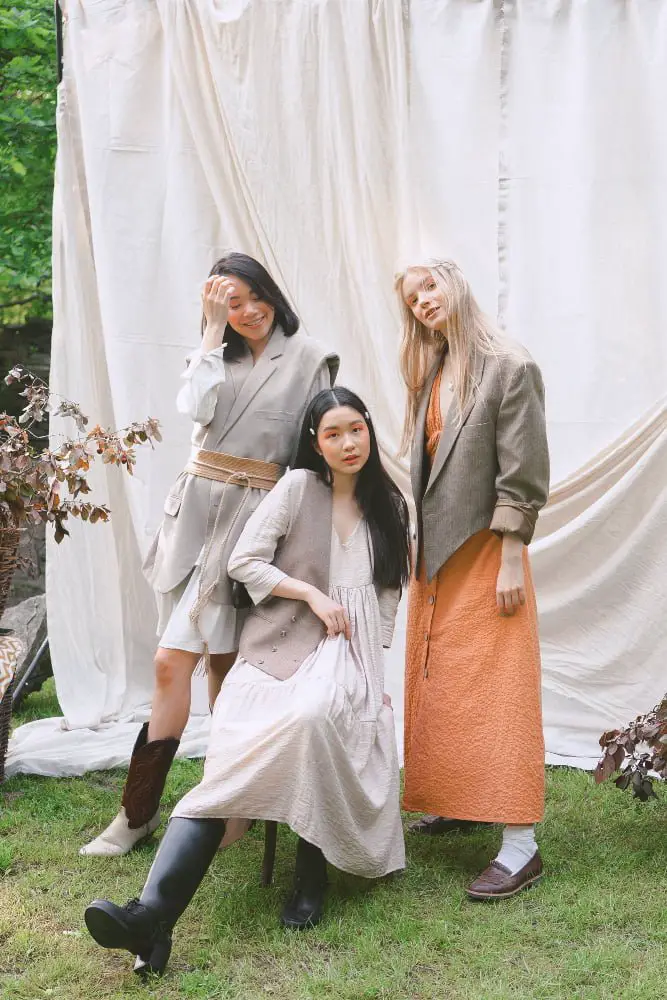
Setting Up the Backdrop

The backdrop is an essential element of any photobooth as it sets the tone for your photos and creates a cohesive look. When choosing a backdrop, consider the theme and color scheme of your wedding.
One option is to use a simple white or black sheet as a neutral background that will make colorful props pop in photos. Alternatively, you can create something more elaborate by using streamers or balloons in coordinating colors with your wedding decor.
To hang up the backdrop, attach it securely to two stands on either side of where guests will be standing for their photo op. You can also use trees or other natural elements if they are available at your outdoor venue.
Lighting Considerations
When choosing the location for your DIY photobooth, consider the natural lighting available during your event time. If you’re having a daytime wedding, look for areas with plenty of shade to avoid harsh shadows on faces or overexposure in photos.
If you’re planning an evening reception or party, make sure to have enough light sources around the booth area. String lights are always a great option as they provide soft ambient lighting that creates beautiful bokeh effects in photos.
Another thing to keep in mind is avoiding direct sunlight hitting directly into the camera lens as this can cause unwanted glare and washed-out images. You can use diffusers like umbrellas or reflectors to soften harsh light if necessary.
Camera and Equipment Setup

The first thing you need is a good quality camera that can capture high-resolution images. You can use a DSLR or mirrorless camera with a tripod for stability.
Next, consider using remote triggers or self-timers so guests can take their own photos without having to hold the camera themselves. This will also allow them to get creative with poses and angles.
Another important aspect of setting up your photobooth is ensuring proper lighting conditions. If possible, try to position the booth in an area where natural light is abundant during daytime events; otherwise, invest in some artificial lights such as softboxes or ring lights for evening receptions.
Remember that not everyone may be familiar with how cameras work so make sure there are clear instructions available on how they should operate it – this could include simple steps like pressing the shutter button or adjusting settings like aperture and ISO if necessary.
Fun Props and Accessories

You can include anything from silly hats, glasses, mustaches on sticks or even a chalkboard with funny sayings written on them. The possibilities are endless!
To keep things organized for guests, consider setting up a table next to the photobooth with all of the props laid out neatly. You could also create signage that instructs guests how to use the props or encourages them to take photos.
Remember that these little details will make all of the difference in creating an unforgettable experience for both you and your guests.
Guest Instructions Signage

You don’t want them to feel confused or unsure about how the photobooth works. One way to do this is by creating signage with simple and easy-to-follow instructions.
You can use a chalkboard or a wooden sign and write down some fun prompts like “Strike a Pose” or “Say Cheese.” Make sure the font is big enough so that everyone can read it from afar. You could also include some props in front of the sign, such as hats, glasses, and mustaches.
Another option is to create an instruction card with step-by-step directions on how to use the photobooth. This card should be placed near the camera so that guests can refer back if they need help.
By providing clear guest instructions signage at your outdoor wedding DIY photobooth setup, you’ll ensure everyone has fun while capturing memorable moments!
But Wait, There's More
 How Much Are Wedding Rings: Costs and Factors to Consider
 Wedding Envelope Addressing: How to Perfectly Address Invitations for Your Special Day
What to Wear Under Wedding Dress: Essential Tips for Comfort and Style
 What Does a Priest Say at a Wedding: Traditional Phrases and Their Meanings
 How to Make a Wedding Cake: Step-by-Step Instructions for Beginners