Discover how to create a wedding website that will streamline your planning process and keep your guests informed every step of the way.
Key takeaways:
- Choose the right website builder and domain name
- Select a wedding template that matches your theme
- Personalize your content with your love story and details
- Simplify RSVP process with an embedded form
- Ensure your website is mobile-friendly for easy access
Select the Right Website Builder and a Domain Name

Embarking on the creation of your wedding website starts with a solid foundation: a website builder that suits your needs and a domain that resonates with your special day. Here’s how to navigate these initial choices:
1. Ease of Use: The builder should offer a user-friendly interface, pre-made templates, and intuitive drag-and-drop functionality, making it accessible even for beginners.
2. Customization Options: Look for a platform that allows you to customize colors, fonts, and layouts to match your wedding theme.
3. Budget: Many builders offer free basic plans, but consider if premium features are worth the upgrade for your needs. Some premium plans include a custom domain name.
4. Domain Availability: Your chosen domain should be memorable and tie in with your wedding. Typically, a combination of your first names or last names works well. Check for availability and try to secure a .com when possible for easier recall.
5. Privacy Controls: Since a wedding website can include personal details, ensure the builder provides privacy settings like password protection or guest-specific access.
6. Longevity: Decide how long you want the website to be live. Most builders offer plans varying from monthly to yearly, so opt for one that aligns with how long you wish to keep your website up post-wedding.
Remember, your website, much like your wedding, should be a reflection of your journey together, so take the time to select a builder and domain name that truly represent you as a couple.
Choose a Wedding Template
With a variety of templates available, selecting the right one sets the tone for your website. Look for designs that match your wedding theme and color scheme for a cohesive feel.
Check for sections you’ll likely need, like ‘About Us,’ ‘Our Story,’ ‘Wedding Details,’ ‘Photo Gallery,’ and ‘Contact Information.’ A template with a built-in registry link can also simplify gift-giving for your guests.
Opt for templates that are easy to navigate and visually appealing, as this will be a go-to resource for your attendees. Above all, ensure the template resonates with you and your partner’s style.
Personalize Your Content
Your wedding website is the digital reflection of your love story and upcoming nuptials, so infuse it with details that represent you as a couple. Consider including:
- Your Story: Share how you met, the proposal, and journey together.
- Photos: Upload engagement photos, candid snapshots, and throwback pictures for a visual stroll down memory lane.
- Wedding Party Introductions: Introduce your bridesmaids, groomsmen, and other key players, perhaps with fun anecdotes or why they’re significant to you.
- The Event Details: Provide ceremony and reception locations, times, dress code, and any other pertinent day-of information.
- Accommodations and Travel: List hotel block details, transportation options, and things to do in the area for out-of-town guests.
- Registry Information: Direct guests to your registries or your preference for gifts in a tasteful manner.
- FAQs: Address common inquiries such as plus-ones, children, or dietary restrictions to reduce the need for guests to reach out directly with questions.
Remember, this is a chance for guests to learn more about you and the celebration, so let personality and love shine through every element.
Create an RSVP Form
Streamlining your RSVP process through your wedding website not only simplifies your planning but also offers a convenient way for guests to confirm their attendance. Start by embedding a form feature available through the site builder of your choice. Include essential fields such as guest names, contact information, dietary restrictions, and any plus-one details. Accessibility is key, so ensure the form is straightforward and can be completed within minutes.
Consider adding a section for personalized messages or song requests to foster a more interactive experience. Set up automatic confirmation emails to acknowledge their responses and keep a record for your planning. Remember, clear instructions on the form will minimize confusion and increase the likelihood of prompt replies from your invitees.
Make It Mobile-Friendly
Having your wedding website perform flawlessly on mobile devices is essential. A significant number of your guests are likely to access your site through their smartphones.
- Test your website on various devices to ensure compatibility and ease of navigation.
- Opt for a responsive design that automatically adjusts to different screen sizes.
- Minimize the use of large files that can slow down loading times on mobile networks.
- Prioritize key information at the top of the page for quick access without excessive scrolling.
- Implement a simple menu structure so users can find information swiftly.
- Avoid Flash-based designs as they’re not supported by many mobile browsers.
- Choose fonts and colors that are legible on smaller screens.
Remember, the goal is for your guests to have access to your wedding details at their fingertips, no matter where they are or what device they’re using.
But Wait, There's More
 How Much Are Wedding Rings: Costs and Factors to Consider
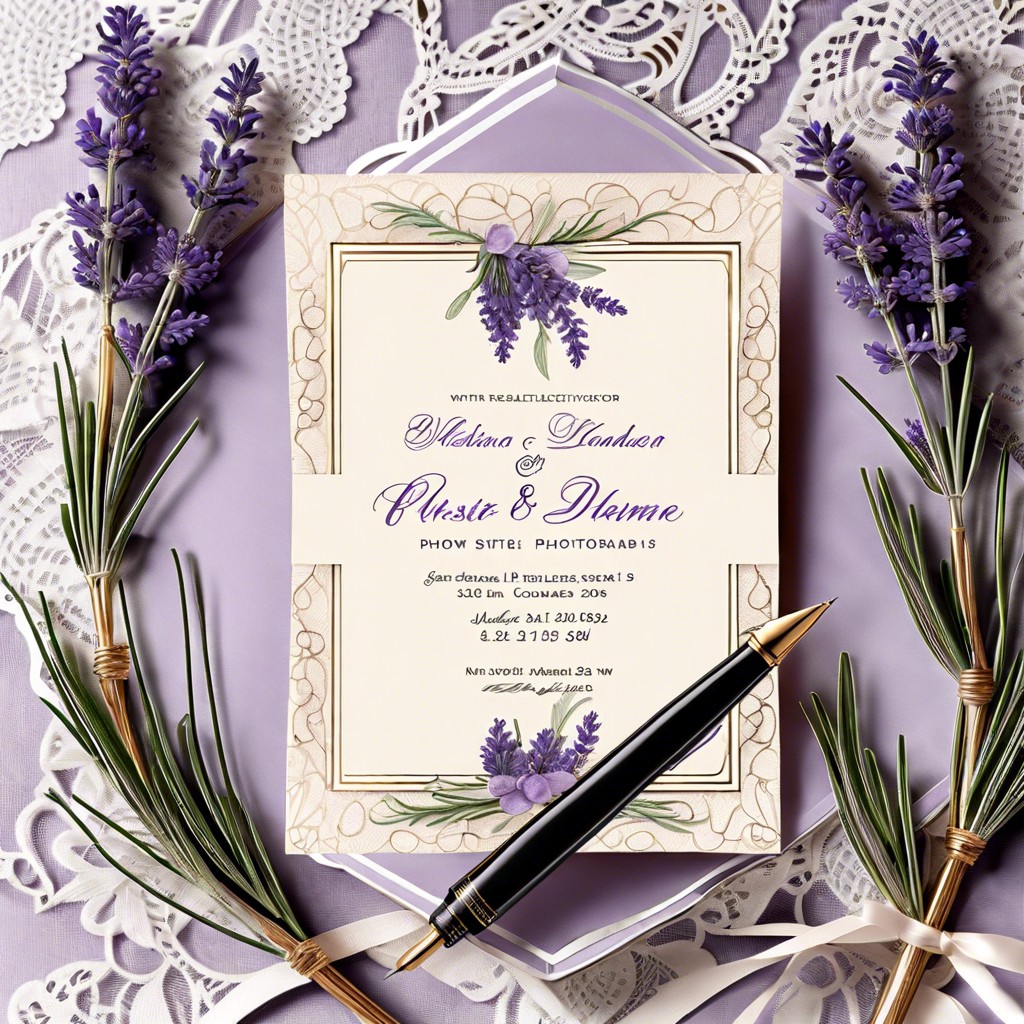 Wedding Envelope Addressing: How to Perfectly Address Invitations for Your Special Day
What to Wear Under Wedding Dress: Essential Tips for Comfort and Style
 What Does a Priest Say at a Wedding: Traditional Phrases and Their Meanings
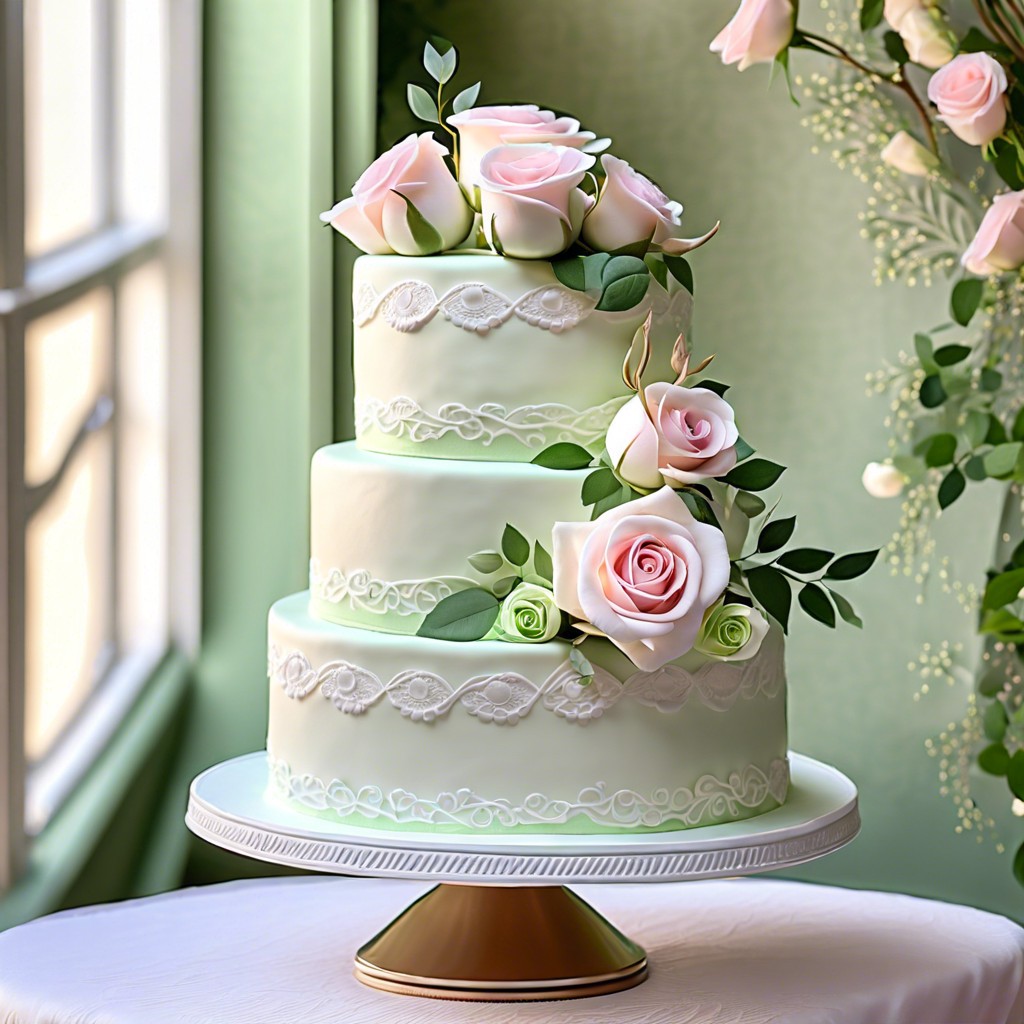 How to Make a Wedding Cake: Step-by-Step Instructions for Beginners