Learn how to stuff your wedding invitations correctly and efficiently with this step-by-step guide.
Key takeaways:
- Gather supplies for efficient invitation stuffing.
- Proofread invitation content for accuracy and tone.
- Confirm guest names and addresses to prevent delivery hiccups.
- Arrange cards in proper order for a cohesive invitation suite.
- Seal envelopes securely for a polished and intact delivery.
Gather Supplies
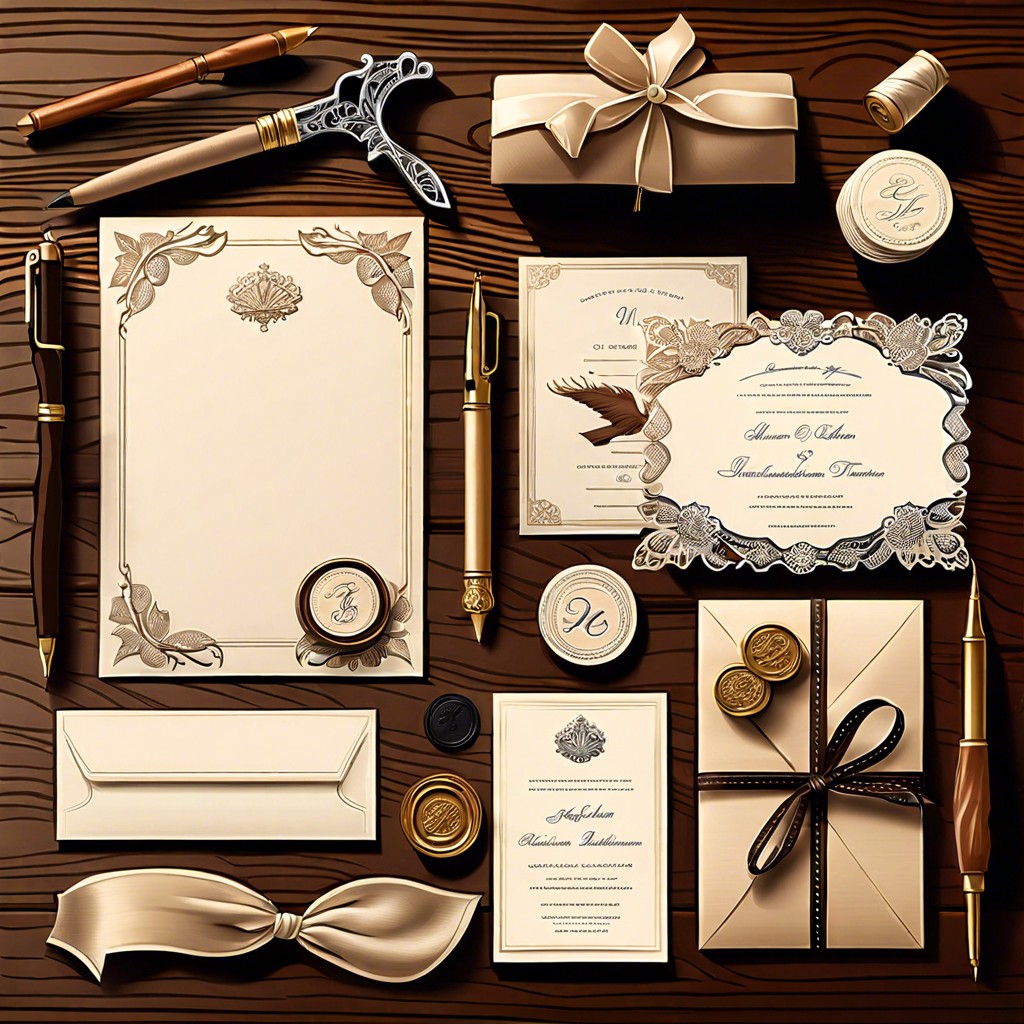
Starting with a clean workspace, lay out your invitations, response cards, and any additional information cards you’ll be including. Have stamps at the ready for both the response envelopes and the outer envelope. Don’t forget the adhesive for the envelopes; a sponge or glue stick can expedite the process and spare you from a dry tongue. If you’re adding a personal touch like a ribbon or a seal, have those items on hand as well. Double-check you have the right amount of everything for your guest list size. Remember, having all your supplies within arm’s reach smooths the path ahead and keeps the stuffing stage moving like clockwork.
Proofread Invitation Content
Before sending out your wedding invitations, taking a close eye to review the text can save you from a facepalm moment later. Start by checking the basics: the date, time, and location of your wedding. Are they spot-on? Good. Now, peruse for any typos or grammatical errors that might’ve slipped past your eyes in excitement. It’s like a mini treasure hunt, except the treasure is flawlessness.
Next, give a once-over to the names. That goes for your names, too — because there’s nothing like misspelling your own moniker to make for an unforgettable nuptial kick-off. It’s not the time for typos to be the uninvited guest at your wedding.
Finally, consider the tone and wording. Does it reflect the vibe of your big day? A black-tie affair’s invite should read differently than a beachside bash. The goal is for guests to get a taste of what’s to come, and that no-one is left scratching their heads thinking they’re in for a hoedown when it’s really glitz and glam calling.
Double-check, then check again. When you’re confident it’s all hunky-dory, take a deep breath. The hard part’s over—well, until the seating plan, but that’s a tale for another day.
Confirm Guest Names and Addresses
Cross-referencing your guest list with a current address book prevents any hiccups related to guests receiving their invitations. With people constantly on the move, a friend who was apartment hunting last time you checked might now be cozily settled in a new place.
A quick phone call or text can save a lot of return-to-sender heartache. Remember, Aunt Sally might seem anchored to her homestead, but even she could’ve downsized to that chic downtown condo.
In addition, double-checking spellings shows attention to detail. Nothing dampens the excitement like a name misspelling. So, go over each name like a detective searching for clues. It’s not only respectful but also cuts down the risk of a guest holding a grudge against their mysteriously new alter ego, thanks to a typo.
Keep up-to-date by continuously updating your list during the planning phase. A well-curated guest list reflects your consideration and helps assure your invites land in the right hands, not in the lost mail abyss.
Arrange Cards in Proper Order
Layering your invitation suite correctly is like setting up the perfect first impression for your big day. Start with the main invitation, the star of the show, face-up on the table. Next, place the reception card, if you have one, on top. Follow this with any other enclosures such as a map or accommodation card, ordered by size; think of it as a neat, little crescendo to the RSVP card. The RSVP card should tuck into its little envelope, front side visible, and place it flap side down on the stack. This way, when guests lift your invite, they’ll find each piece in the reveal-order you intended. Remember, it’s like unwrapping a present; every detail contributes to the experience.
Seal Envelope Securely
With all the invitation components perfectly aligned, the final seal is more than a mere gesture – it’s a promise of an upcoming celebration being delivered. Choose an adhesive method that matches the formality of your event. Traditional wax seals add a touch of elegance and are a delight to open. Alternatively, adhesive strips provide a clean, secure closure without the fuss.
When sealing, apply even pressure to ensure the contents stay snug and the envelope fully closed. This prevents invitations from arriving in a less-than-perfect state. For those extra-thick envelopes, reinforcement might be needed. A small piece of clear tape, discreetly placed, can be your secret sentry against in-transit mishaps.
Lastly, be mindful of the condition of your hands during this process. A clean, dry touch keeps your invitations smudge-free, letting the love contained within be the only thing that makes your guests’ hearts flutter upon receipt.
But Wait, There's More
 How Much Are Wedding Rings: Costs and Factors to Consider
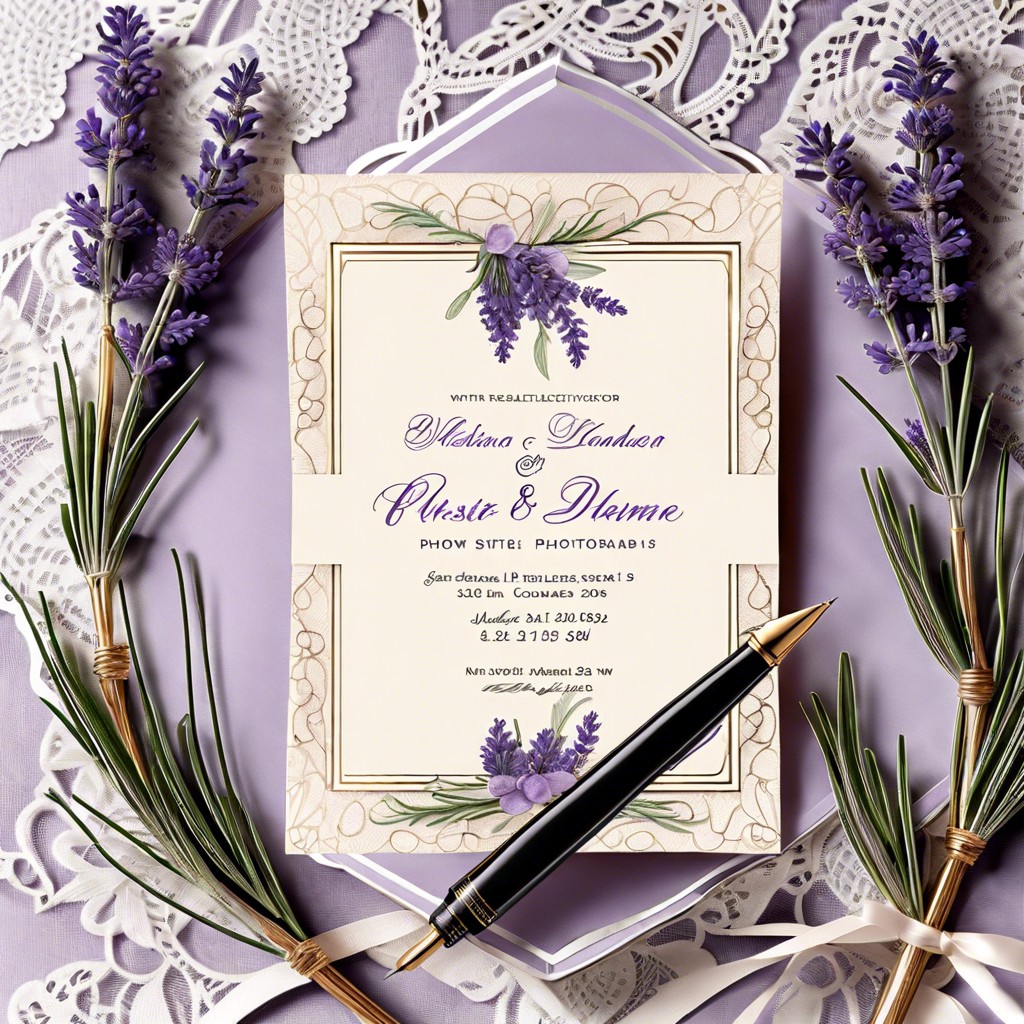 Wedding Envelope Addressing: How to Perfectly Address Invitations for Your Special Day
What to Wear Under Wedding Dress: Essential Tips for Comfort and Style
 What Does a Priest Say at a Wedding: Traditional Phrases and Their Meanings
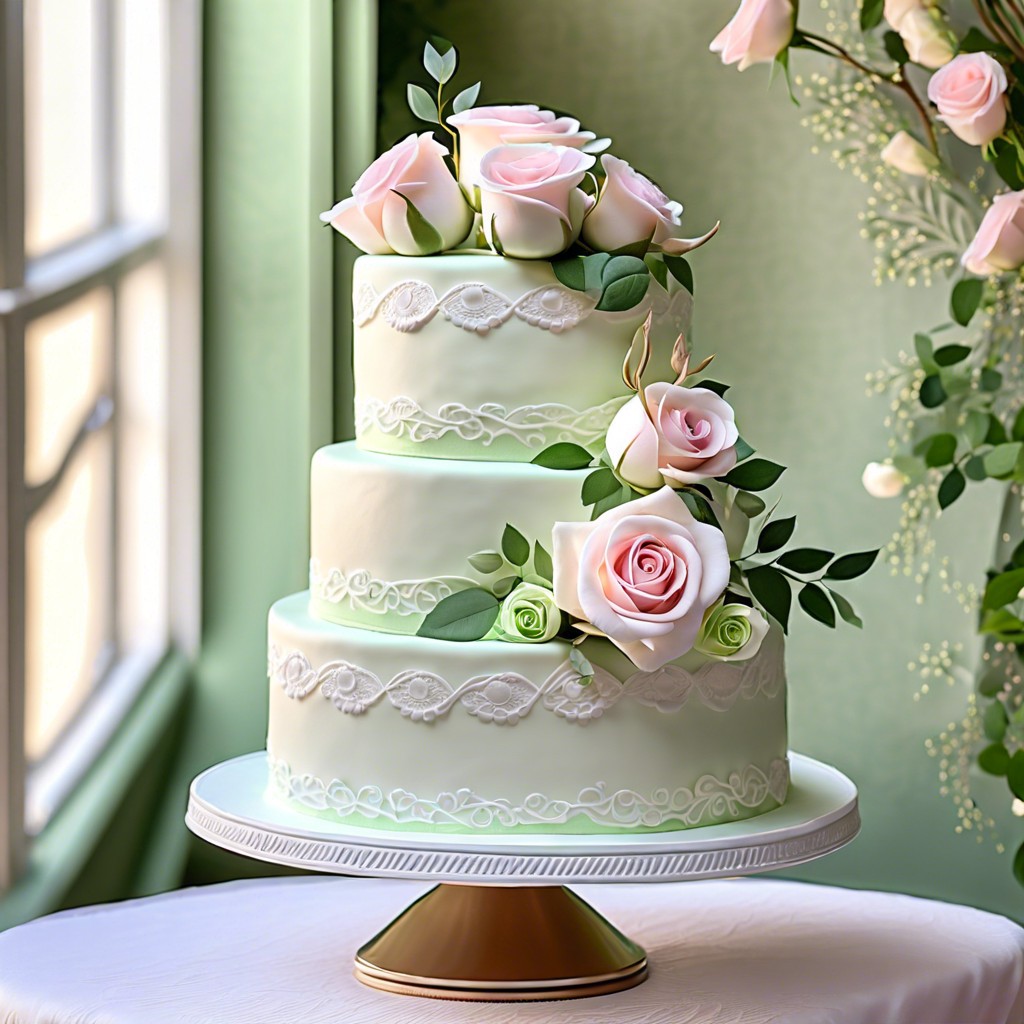 How to Make a Wedding Cake: Step-by-Step Instructions for Beginners